Here's my back yard tree stump table
Hey everybody...This was yet, another interesting project. I had this old tree stump in my back yard that came with the house when I purchased it in '96. I knew I wanted to do something artistic with that stump, but I wasn't sure what. One day my buddy, Drew, stops by the house with this huge cable spool and says to me, "I got this huge cable spool. Do you think you could use it for something?" The gears were turning in my head. All of the sudden it came to me...back yard table!!" We unloaded the spool and I proceeded to disassemble it. I got the idea in my head that I could carve a dowel out of the top of the stump that could accomodate one of the spool wheels as a table. It could work!
Phase I - Carving the stump...
This was, by far, the hardest part of the project. At first I thought I could do the whole job with my reciprocating saw, but after about 10 minutes of that I knew I was barking up the wrong tree (no pun intended). So I went over to my neighbor, Mike's, and borrowed his chain saw. I have a strict policy about returning items in better condition then when I borrowed them, so the first thing I did was clean the saw up, as it was very dirty. Next I fired her up. She seem to run okay. As I touched the blade to the tree I was discovering that this saw wasn't cutting very well. It seemed the blade was quite dull. But honestly this was much better than using the reciprocating saw, so I continued to use the chain saw.
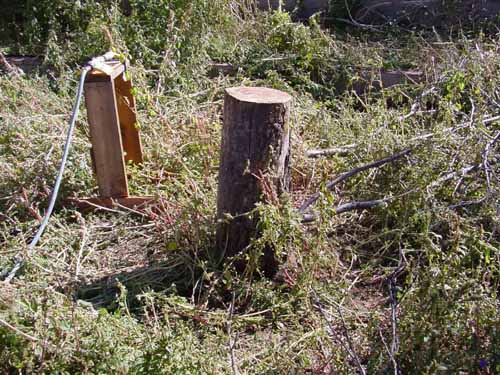
Here's a couple pictures of my first cuts.
The only way to get the dowel round was to use a belt sander. I purchased a really good Porter Cable belt sander a couple years ago. I was really glad to have it for this project. However, even with a good belt sander, it was still me vs. the tree. I was going into battle...BTW, you may notice a weed or 2 in the yard with me. I had to battle those, too!
Phase II...Get rid of those weeds!!!...
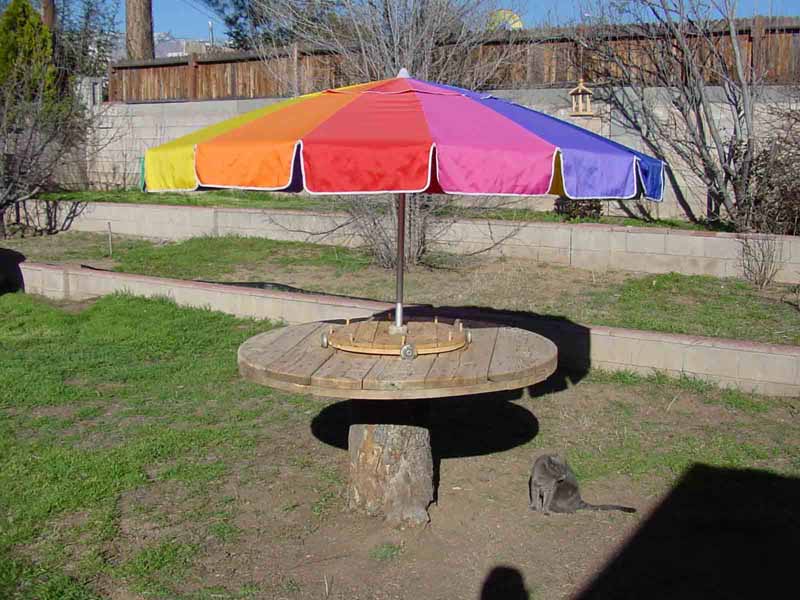
As you can see in the previous pictures, the yard got pretty inundated with weeds. One day, after like 4 days of rain, Julie decided to start picking weeds out of the back yard. The normally hard N.M. dirt was extremely wet and soft after 4 days of precipitation. The weeds pulled very easily so I joined in the phun. A couple hours later there was nary a weed in the back yard. This is what the table (and the yard) look like as of this writing (February, 2005)...
This page is up as of February 24, 2005 - 12:AM and was updated August 27th, 2007 - 7:00 PM.
Go home!
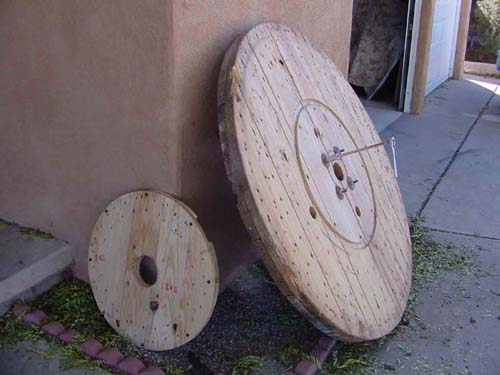
Here's a couple pictures of the parts I used from the disassembled spool and the tree stump I started out with.
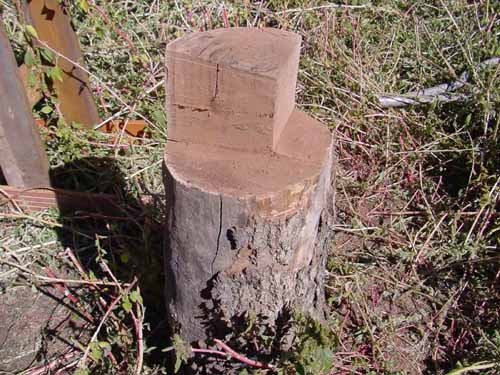

As you can see I drew circles in the top of the dowel as a guideline towards a perfectly round cylinder.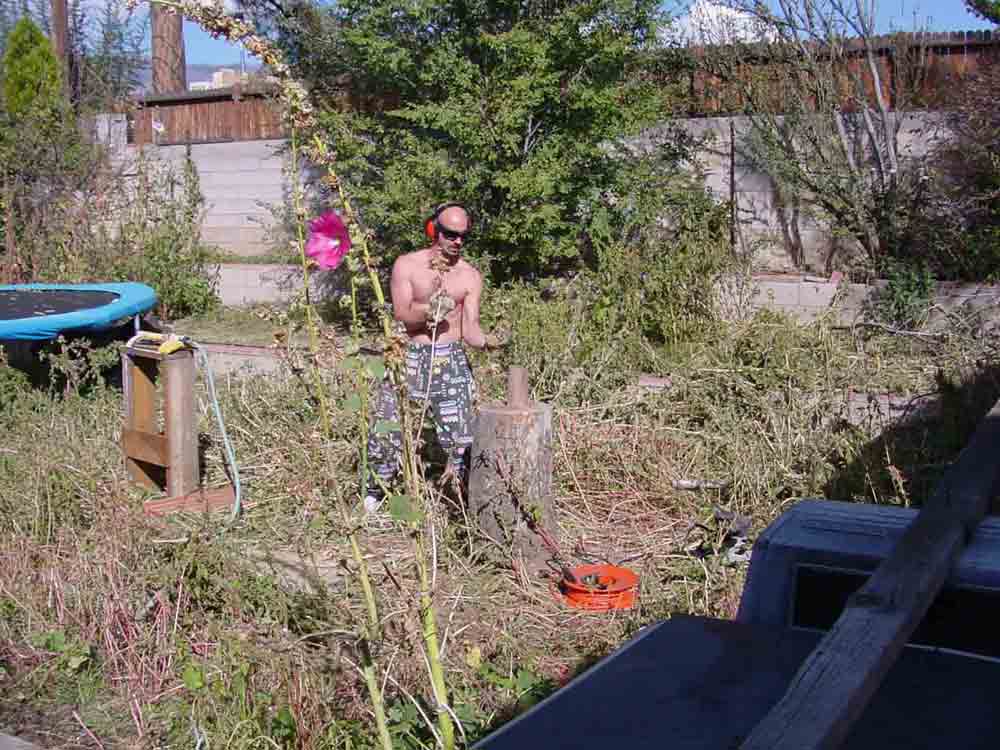
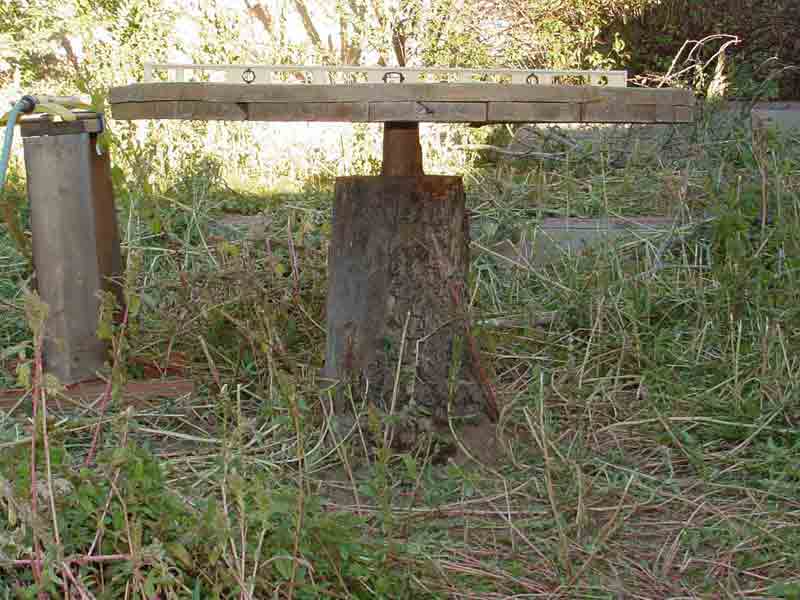
After a while the dowl started to take shape. Eventually I was able to get the table top to sit on top of the partially shaped dowl. If you look closely you can see that the dowel is still tapered.
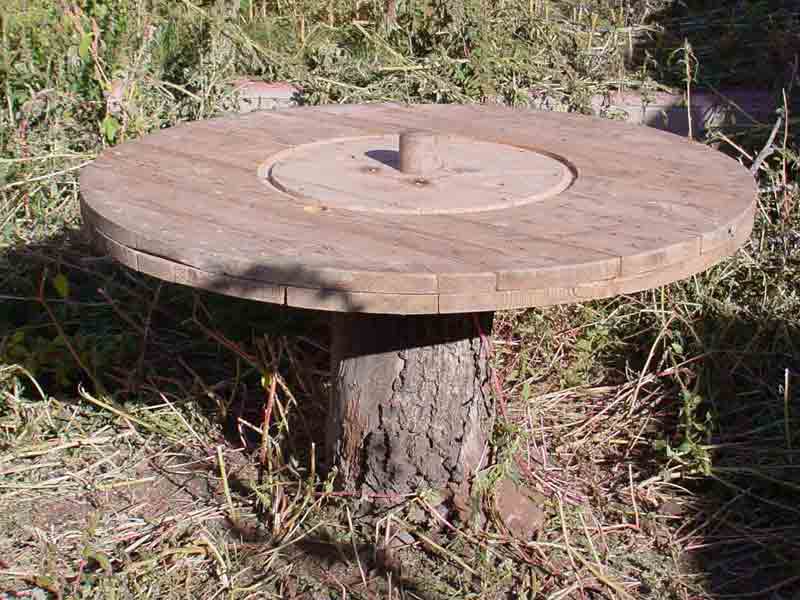
Eventually I had enough of the wood ground away so all that remained was a nice, round dowel. I was eventually able to get the spool wheel to fit onto the dowel with no fasteners or glue. The table top is completely removable by 2 people.
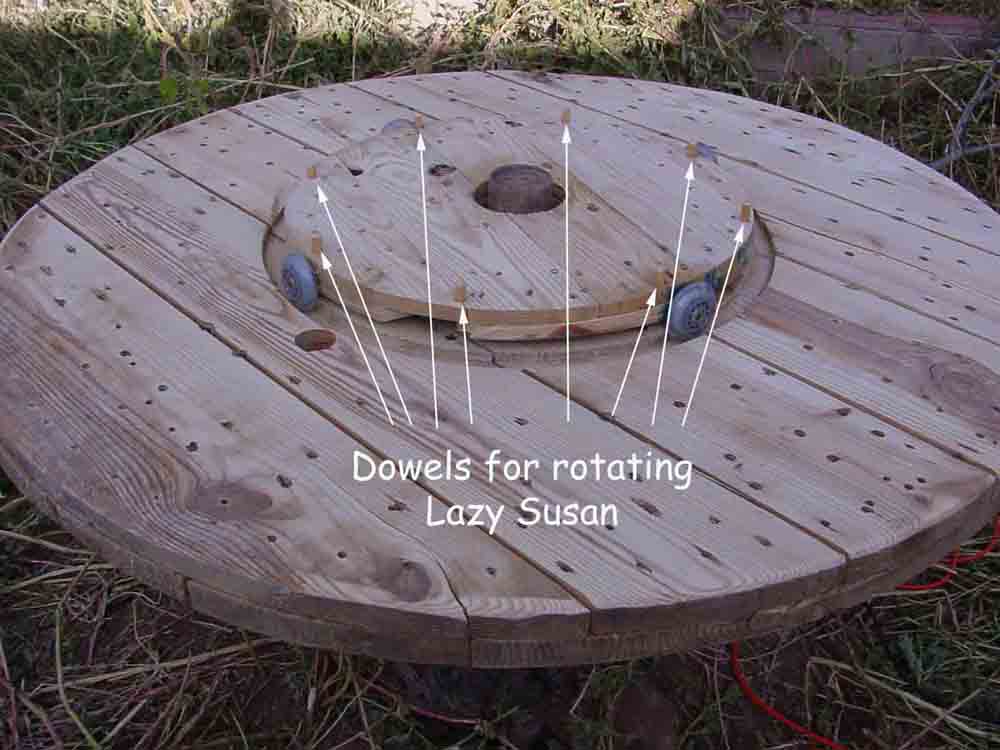
I started thinking about that perfectly round, carved goove in the center of the table top. It only made sense to take the smaller wooden wheel I had scavenged from the spool and make a Lazy Susan out of it. I added a couple of roller-blade wheels to the mix. That idea worked perfectly to form a perfectly functioning Lazy Susan. There were 8 holes already drilled around the perimeter of the Lazy Susan, so I filled those holes with dowels so one could grab them to rotate the Lazy Susan.
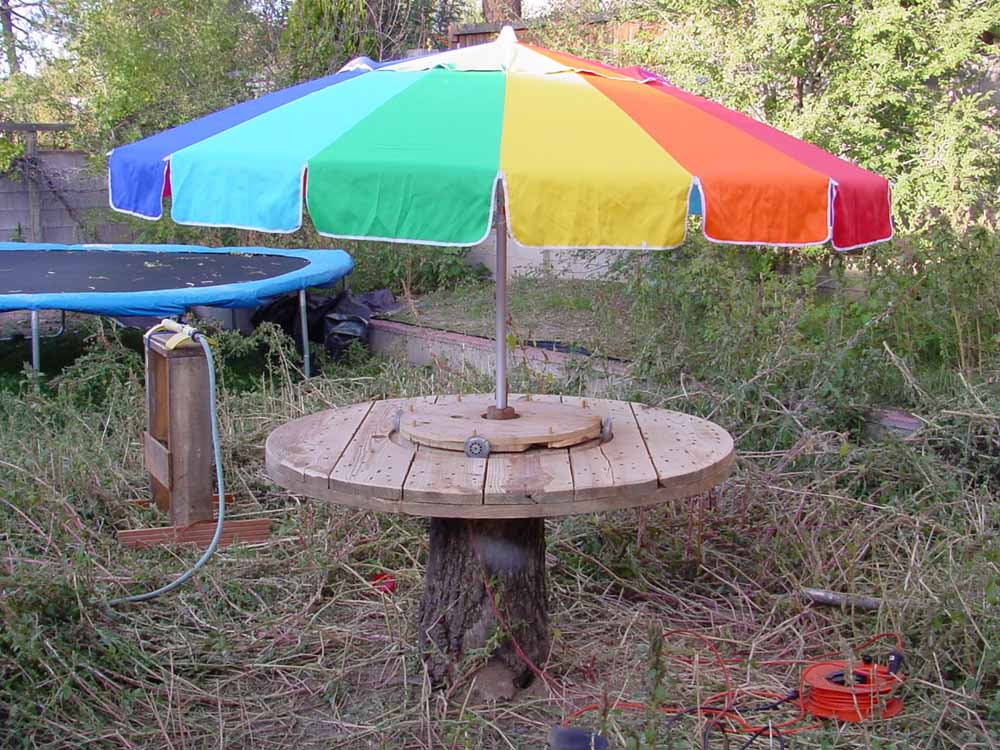
What outdoor table is complete without an umbrella to shade you from the sun? I borrowed an auger bit from my friend, Drew, so I could drill a large hole down through the center of the dowel. As you can see, the umbrella fits nicely in there.
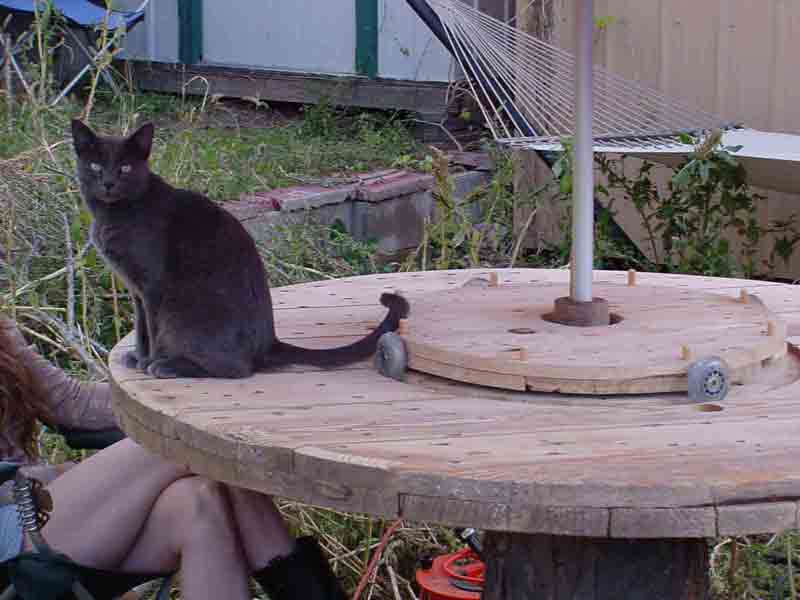
No project is complete without Smokey's approval.
Here's a close-up of the wheel as it sits in the groove. To a wood engineer, such as myself, it is a true thing of beauty...LOL...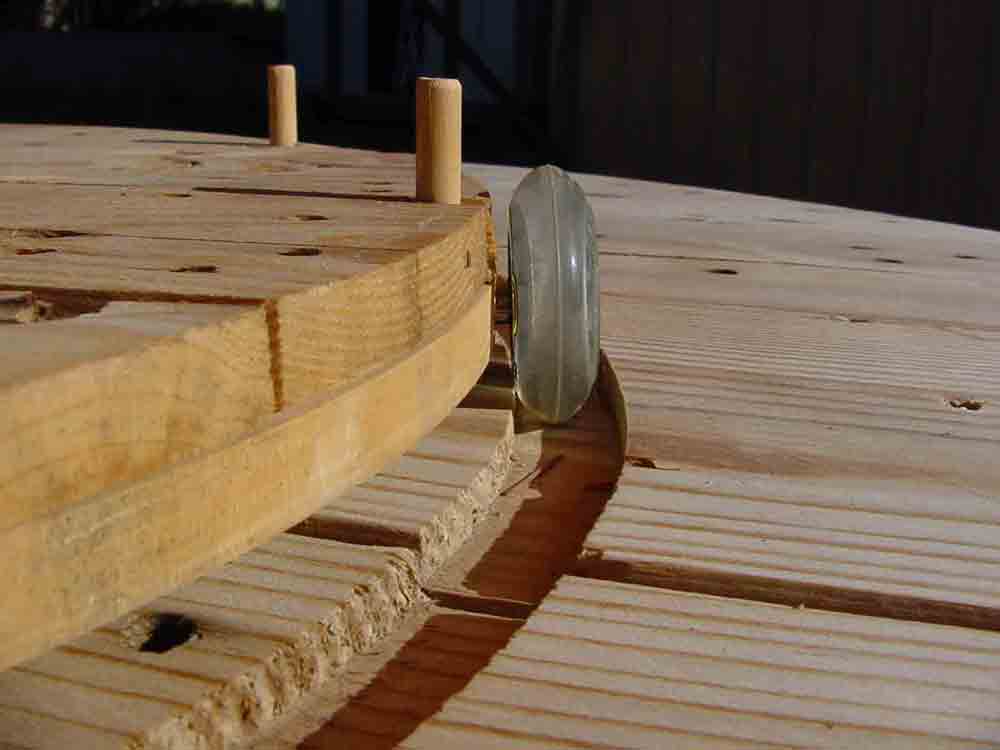
If you have any questions, comments or suggestions, please

e'mail me.


All pictures & material Copyright © 2005 Donnie Frank